How to install a fence yourself?
How to Install a Fence?
If you're thinking about taking on the challenge of installing a fence on your own, you've come to the right place! At Matthews Fence Company, we know a thing or two about fences, and we're here to share some insider tips to help you "install a fence" like a pro, right in your backyard in Matthews, NC.
Step 1: Plan Your Project
Before you even think about digging a hole, it’s crucial to plan out your fence installation. Start by checking local building codes and homeowner association guidelines (if applicable) to make sure you’re in the clear. You’ll also need to know where your property lines are, so a quick visit from a land surveyor might be in order.
Next, decide on the
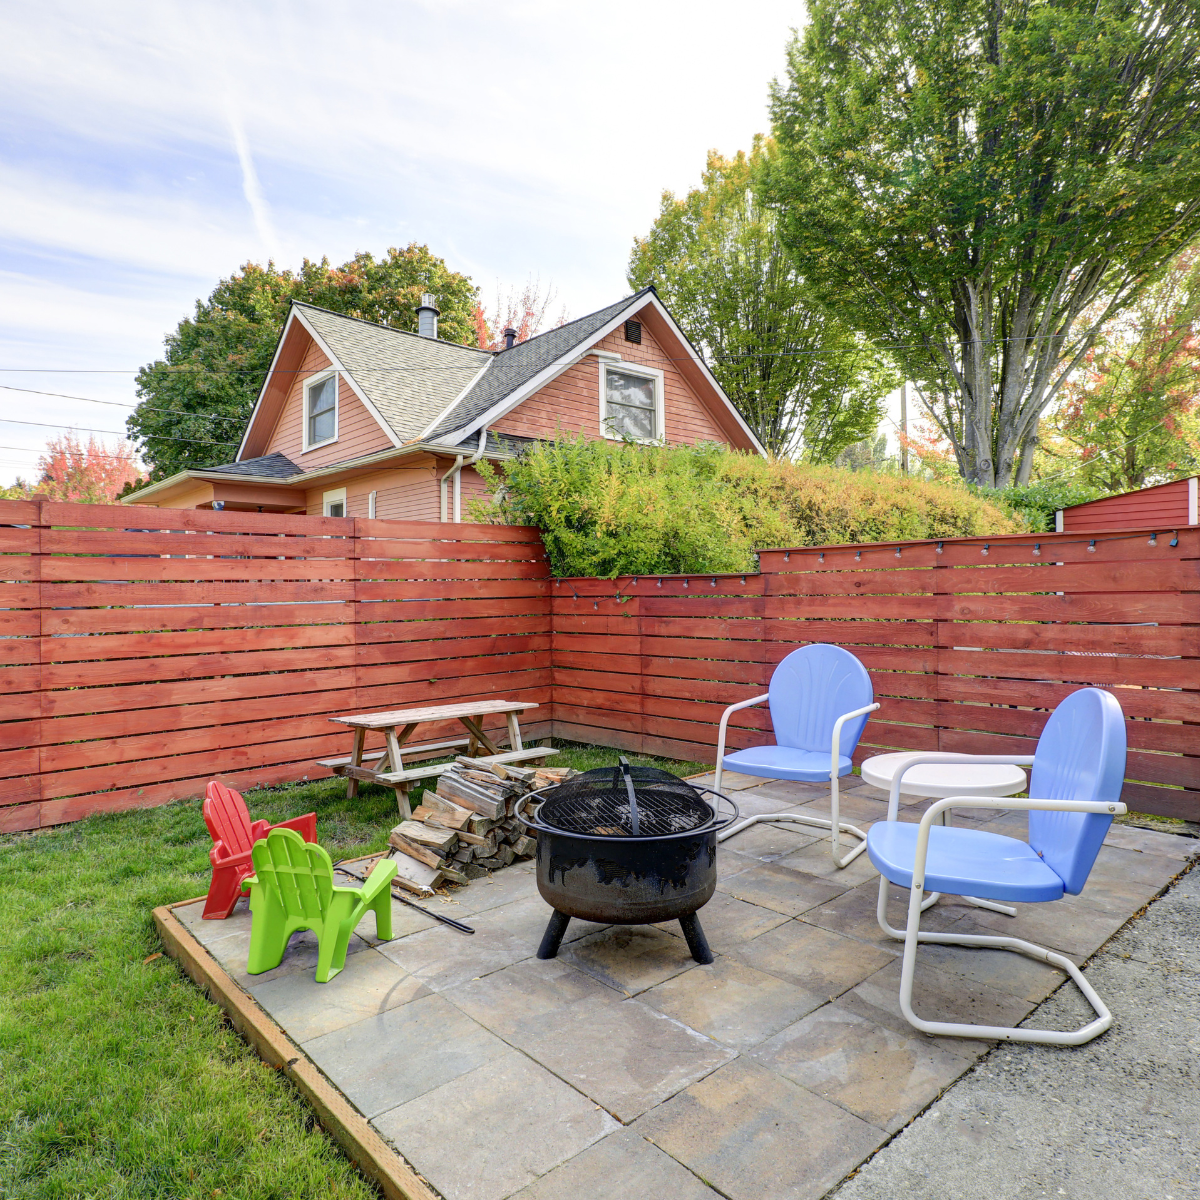
type of fence you want. Whether it’s
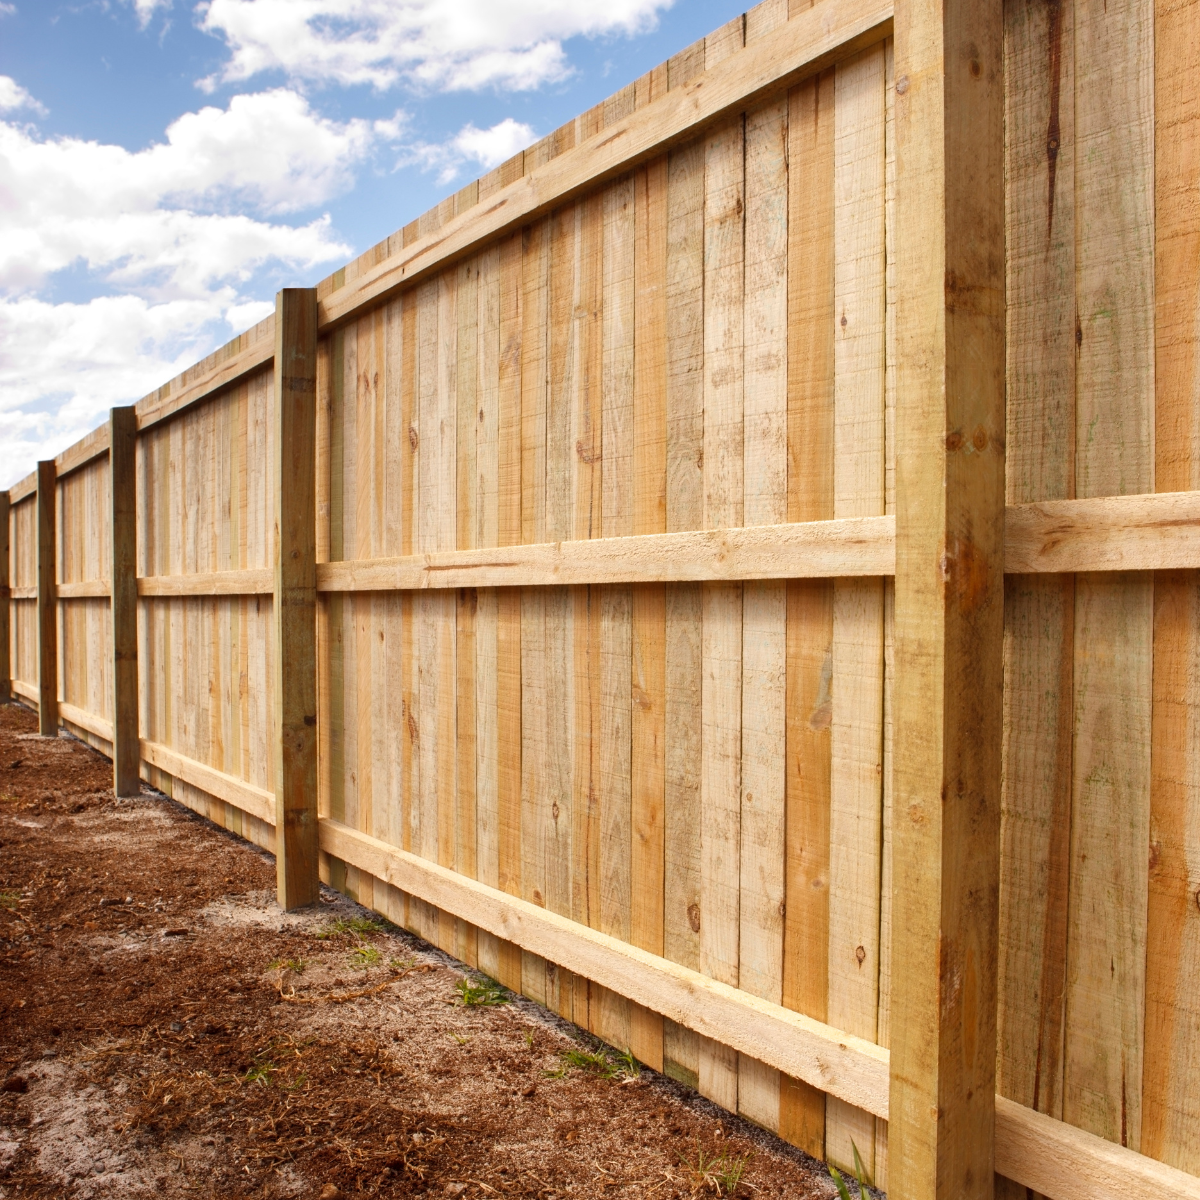
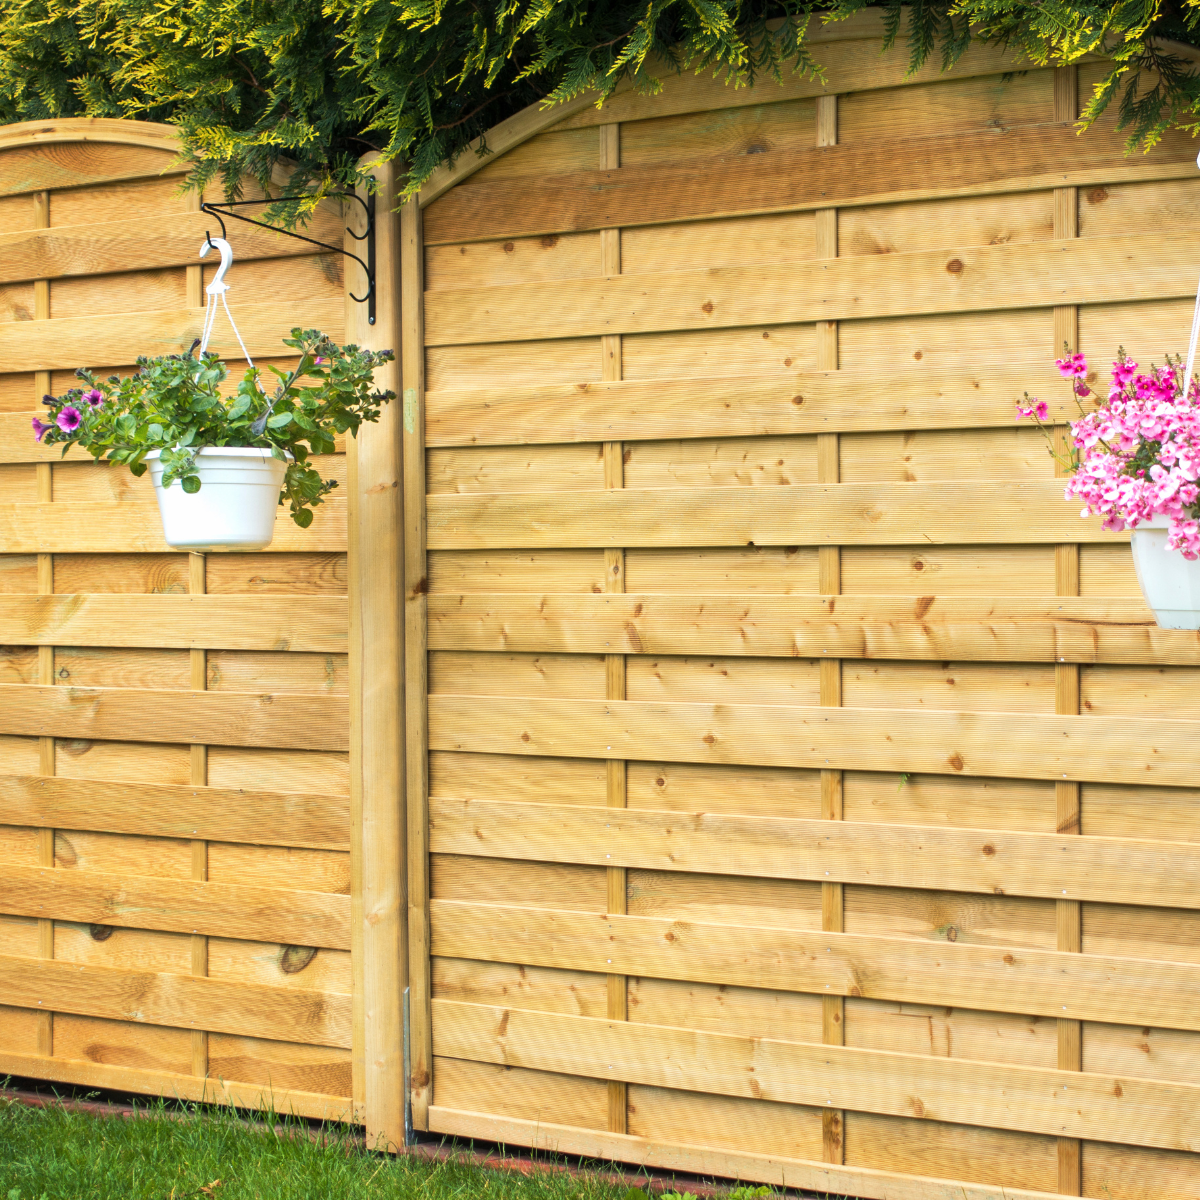
wood,
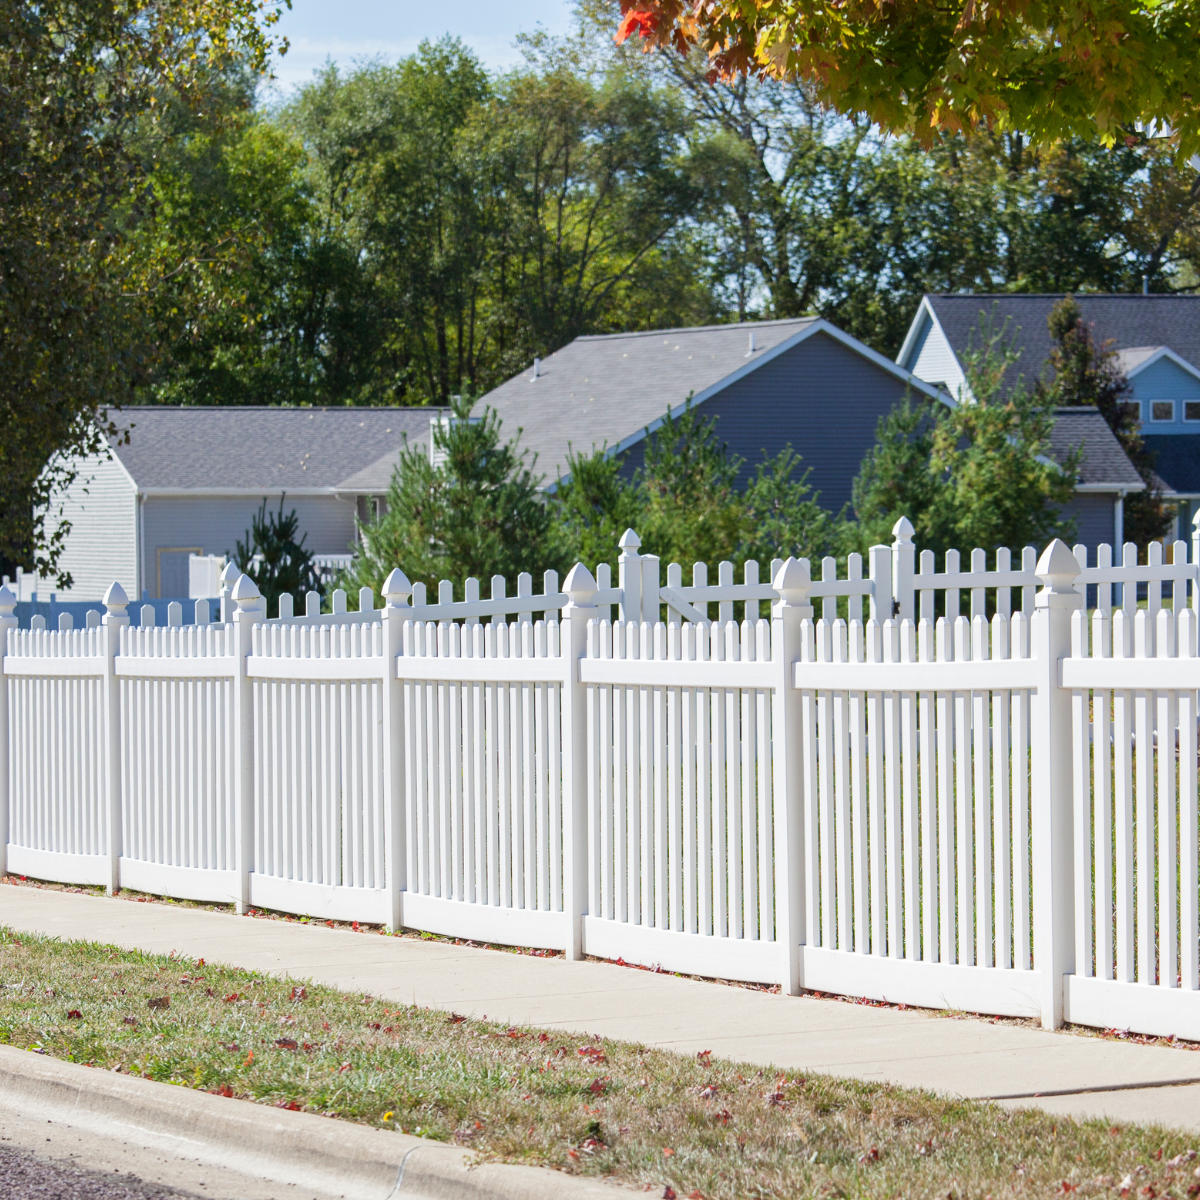
vinyl,
aluminum, or
chain link, each material has its own set of installation steps and maintenance requirements. Once you've picked the material, measure out the total length of the fence to determine how much material you need to buy.

Step 2: Gather Your Materials and Tools
To install a fence, you'll need some specific tools and materials. Here’s a basic list to get you started:
- Fence panels or pickets
- Fence posts
- Concrete mix (for setting posts)
- Gravel (for drainage)
- Post hole digger or auger
- Level
- Tape measure
- String line
- Saw or fence post cutter
- Hammer or nail gun (if you're using wood)
- Screws or nails
- Safety gear (gloves, goggles)
Make sure you have everything on hand before you begin, to avoid any frustrating pauses during the project.
Step 3: Mark Your Fence Layout
Using string lines, stakes, or spray paint, mark where your fence will go. This is critical to keep your fence straight and evenly spaced. Lay out where each post will be installed. Typically, fence posts are spaced about six to eight feet apart depending on the type of fence and the landscape.
Step 4: Dig Post Holes
Now comes the fun part—time to dig! Using a post hole digger or an auger, dig holes that are about three times the width of your post and 24 to 36 inches deep, depending on the height of the fence and your local soil conditions. Drop a couple of inches of gravel into each hole for drainage; this helps prevent wood rot or metal corrosion over time.
Step 5: Set the Posts
Place your posts in the holes. Make sure each post is level and at the correct height. Once they're aligned, fill the hole with concrete, making sure to leave a few inches at the top for soil or grass if you prefer a more natural look. It’s crucial to check the alignment and level again after adding the concrete to ensure everything is perfectly vertical and in line. Allow the concrete to set according to the manufacturer's instructions—usually about 24 to 48 hours.
Step 6: Attach the Panels or Pickets
Once your posts are set and the concrete has hardened, it's time to attach the panels or individual pickets. If you’re using panels, this can be relatively quick as they simply need to be secured to the posts with brackets or screws. For individual pickets, start from one end and work your way to the other, using a level to ensure they’re straight. Space them evenly according to your design preferences.
Step 7: Finish and Maintain
With all the panels or pickets installed, take a step back and admire your work. You may want to apply a stain or sealant, especially if you chose a wood fence, to protect it from the elements and extend its life. Maintenance will vary based on the material but keep an eye on your fence for any signs of damage or wear.
Installing a fence on your own can be a rewarding project that not only enhances your home's privacy and security but also boosts its curb appeal. Just remember, the key to a successful
fence installation is planning and precision. Take your time, do it right, and you’ll end up with a fence that’s built to last. And of course, if you hit a snag, the folks at
Matthews Fence Company are just a
phone call away, ready to lend a hand or take over if DIY turns out to be a bit more than you bargained for!


